
How to Transfer to the WordPress Website on your own (With Zero Downtime)

If you're working with an alternate hosting provider, preferring to handle it by hand, or you're switching between websites located within the same region as well as remote ones This guide can assist you in understanding how to transfer your WordPress website to a new hosting provider.
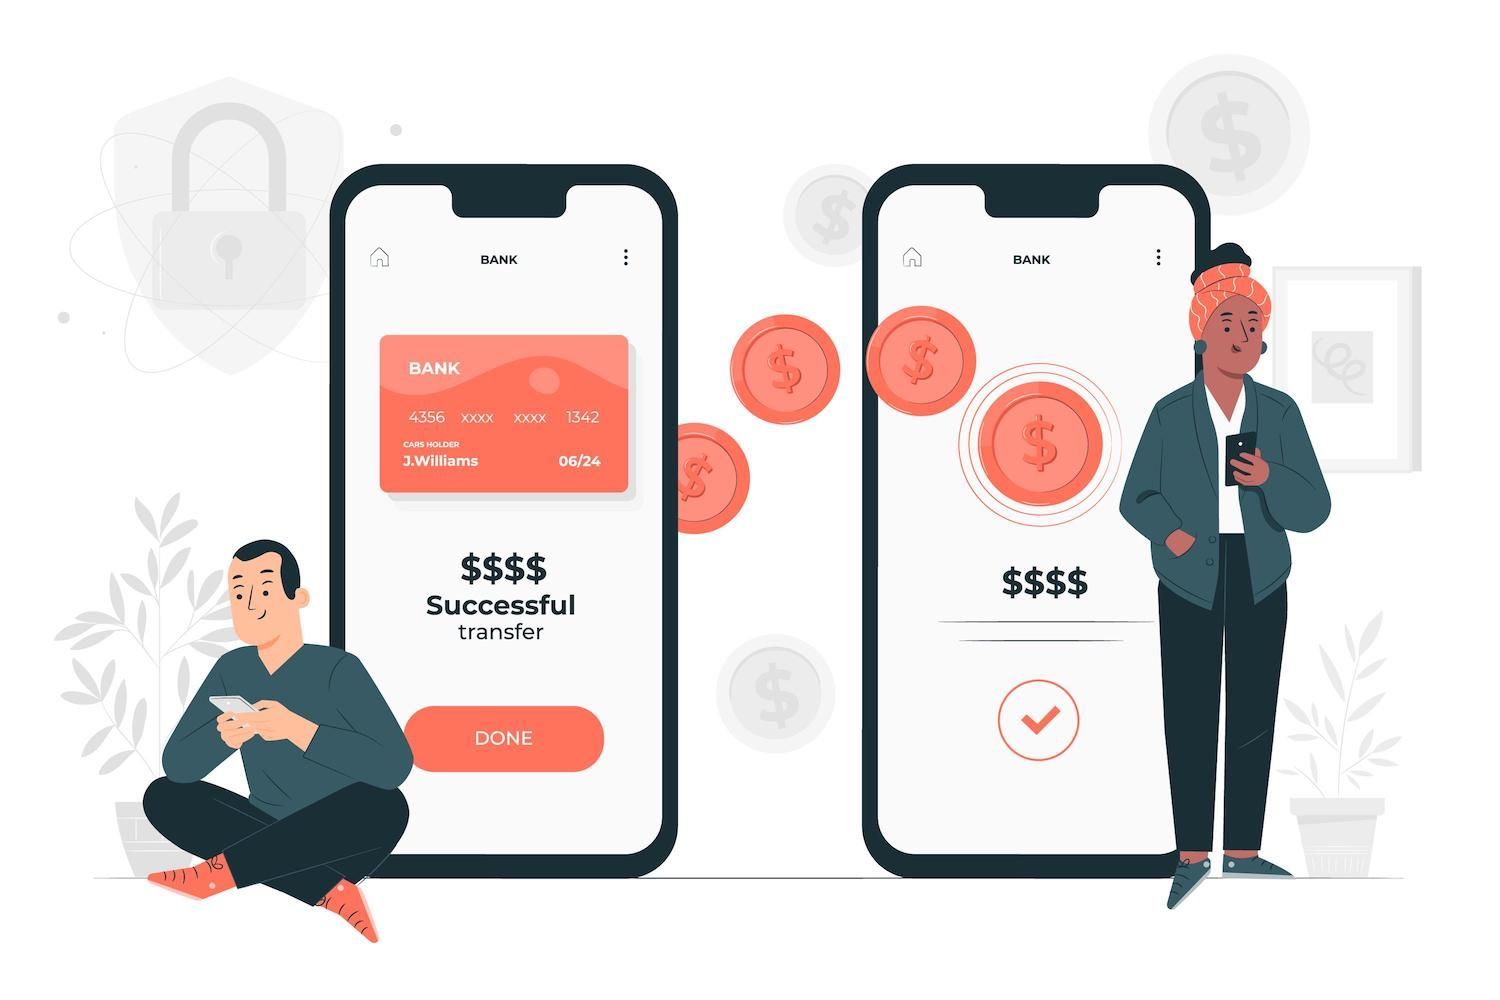
There are times when you might need to move the site WordPress website
- Migration of a website into the WordPress Multisite Network. There are occasions when you have to use one of your sites before transferring it into an online multisite system. It's a little more complicated as compared to migrating one site to another one, but it is possible to do so. This is something I've done to clients with an existing site they want to migrate onto my server. However, I recommend using Multisite for hosting each of my clients web sites.

The easiest way to transfer your WordPress website is by using the plugin.
Transferring the WordPress Website to a different Hosting Provider using the WordPress Duplicator plugin
This article will explain the steps to move your WordPress site onto a different host using the Duplicator plugin.
This method works on any standard WordPress installation. This will allow the user to relocate their WordPress site from one hosting service to another: remote or local. The guideline will also function if you wish to move your site to the Multisite network. We'll discuss the process of moving sites into and out of Multisite further on.
The plugin for duplicators works via the creation of two documents:
- The zip file contains data from the database as well as files from your previous site (the website you're moving to).
- An installer.php file.
You then upload the files to the new site and then open the installer.php file. It will then decompress the file into zip format, and then import your data as well as the files.
Let's take a look at what you can do.
Before you begin the process of migration, make sure you use Duplicator
Before you can start the transfer there are some things you should do.
Make Your Site Clean
Deleting Caching plugins
Save Your Old Website
Make the New Site
It is essential to create your own, unfinished site (without WordPress installed) in the new location for your website.

You can then upload your data to this website. Be sure to make sure you do not download WordPress.
If you're moving to a local server then you'll have to install software such as Desktop Server to ensure that it is able for running WordPress. If you're migrating to another hosting service then you'll require SFTP access to your publicand/ directory. You don't need for installing WordPress.
Migrating a Multisite Network
If you're moving to or from a different hosting service ensure you ask if they have anything that they must complete before you make the change.
Making an Archive of Files and Data from the previous website on WordPress
The initial stage of the migration process is to edit the content that you previously had on your site for the purpose of importing them onto your new site.
Install and then activate and then activate your WordPress Duplicator plugin. Click on the Plugins tab, and then click Add New, then type in 'WordPress Duplicator'. Select the button to download the button to download this plugin. Then click the activate button.

The time has come to create an archive file that will serve to transfer your website. Select Duplicator from the admin menu to access the plugin settings.

The screen below shows the bundles you've put together that contain archives from your site. As of now, the archive won't be filled with content.
If you want to create an archive of your site, select to the Make New button.
After that, you'll be brought to a set-up screen in which you'll be required to input the details for the software according to the order below:
- Name Name You can give the program a name you feel will be meaningful for you.
- Archive: Specify whether you want to archive just the database or both database and files too. If you're migrating your website to the cloud, then everything will need. Leave the checkboxes unchecked.

Now click on the following button to go on.
The plugin will scan your system and let you if everything functions well.

If there's a problem, you can follow the guidelines provided by the plug-in. In the event that you've cleaned your site prior to beginning the process, you should be able to complete the process without issue.
Then click the Create button to build the archive. The process can take some time to complete so don't click away from the screen.
Once it's finished when it's completed, you'll get the possibility of downloading the package's files.

Click on the one-click download button for both downloads to your computer. Save them in a safe place so that you can download them to facilitate the transfer to your new website.
Your archive is now completed.
Importing the Archive to Your New Site
Following step is move the files onto your new website and then launch the program to import them.

When you've finished that, launch the program by opening its URL within your web browser. It's done using the temporary URL for the new site since there is no transfer of your domain's domain.
So if your temporary URL is http://temp..com, you would visit http://temp..com/installer.php in your browser.
This opens the duplicator screen.

If you used the password for your account while setting up the duplicater file then enter it and hit on the button for submission. button.
Then, you'll be guided through the procedure of running the import. The next screen will appear, and you can click the checkbox that is at the bottom, and then click on the Next button.

- Name of host.
- password.
- username.
This plugin makes use of this information to modify the site's settings.
Find all of them in the information screen on this website within My.
If you're moving to a new host, you can ask them for information or locate this information in the email they sent you when you made your sign-up.
Examine the link to determine the database is operating correctly Make any necessary adjustments if you have to. If your database is operating properly, click Next. Next button.
The Duplicator software will go through the step 3 where it will utilize an interim URL for the new website to ensure your database function effectively. Click Next and then next. Click the next button and proceed to Step 4 where you will be able to log in to the site.
Each time you visit your site it should be identical to the previous site. The only difference will be the name of your domain.
Transferring the Domain Name
If you've tried the new website and are happy with the way it's functioning, exactly as expected, you'll have the option to alter the name of the domain on the new website.
If you're also planning to utilize your domain to send emails, then you won't want to switch the nameservers because the nameservers will be pointing all variants of your domain name at the new host provider.
If you're with another hosting service, you'll need to attach an additional domain on your account to ensure that it directs to the new website. The hosting provider you select is likely to be able provide assistance on this.
You're not quite done yet.
This could take up to 72 hours. However, generally, it's much quicker.

There are two fields to update:
- Site Address (URL): if you wish for the address that users get to see different than the actual address for your website, just update this field. If both fields are the same (which is normal) change both fields.
Click on click on the save changes option in order to save the URLs.
Your brand new site running from your new address. If you no longer require the previous site you have and you are ready to take it off and shut the old account, if you changed to a different service.
Migration of a Website to or from WordPress Multisite using plugins
If you're moving a single site into or out of WordPress Multisite, you can accomplish this using a plugin but it's impossible to use it with the WordPress Duplicator plugin. It's because it's not necessary to transfer entire databases and all data to be transferred, just those from that particular website.
For the migration in to and out of Multisite using a plugin it is necessary to install three plugins:
- Another way is to transfer the contents.
- One way to move widget settings.
- One option is to transfer users.
If you are using a specific setup, you may not have to utilize every one of these. Let's see things by taking one step at a.
Migration of Files in and out of WordPress Multisite
When you are planning to migrate your data or settings, it is necessary to have to move the theme and plugin files. This can be done in two ways:
- You can download the theme and the plugins from your old site using SFTP and then upload them to the new website.
After that, you can activate the theme of your site, as well as activate any plugins. Things to take into consideration:
- If the new website you're creating is connected to a Multisite Network you must change the theme for the site. Go to the Network tab, then Sites. Select the edit button beside the web page you're working with, and clicking the theme tab. Then, you'll be able to activate the theme. Then go to the Appearance tab, then Themes within the new site and enable the theme.
- It's not required to install any plugins on the specific site. Instead, you could install them, then visit the pluginsscreen on the site you want to use and activate them there.
- If you're migrating from a page that is part of a network, to a stand-alone website, all you need be doing is to download and activate the theme and add-ons in the same way they would on any other site.
Now you have all of your data on the new site. Take some time to configure the theme and your plugins. you'll have to do the task manually if you're using a plugin to complete the migration.
Import users to the Multisite
Importing users from one site and exporting them into or out of Multisite is harder because WordPress does not keep track of users from every website within Multisite. Instead, it keeps them inside a database table for the whole Multisite network. It's called the wp_users table.
If you're importing from a website which is part of the network, it's only possible to import users who are registered to your website instead of those who are who are registered with other websites in the network. When you import to a site which is part of a network and you're importing to a network, only be sure to activate the users who are registered on the site, not on other websites within the network.
If your site includes more than one author, make this change prior to importing your content, so you are able to assign the right author to the content once you upload it on the new website. So let's do it!
Start by installing and activating the plugin in both your old and new websites. In your older site, navigate to Users > User Import Export. Users > Users Import Export.

Select the Export of Users and Customers option at the top. Pick the roles of users you would like to export (if you choose to leave it as a default this will be exported for every category.) Scroll down until you reach the Export Users button.
The program then downloads a CSV file to your PC. Save this somewhere you'll be able to find it later to download it.
In your brand new website Go on to the Users tab, then Export Users and choose the Importing Users/Customers tab.

Download the CSV file you just made and click the Upload and Import button. It will then transfer the file to your server and then import users on your new site.
If you're working on a website within a Multisite network you can import users and exporting within the site, not with the network admin. All users imported are stored in the database of all the users, and are enabled within the site.
Transfer Content into or out of WordPress Multisite

Save the file you downloaded somewhere you will be able to locate it later. It will be in the XML format.
If you're importing content into the new site It is important to be sure that you've put in place the correct custom post types or taxonomies to be used if you have these in the previous site. If you're not yet making this change, go back to this step and make sure that you're using the exact theme and plug-ins active and installed on the new website as you did on the old site.
Go to the website and proceed to Tools > Import. Go until you reach and after that to your WordPress section. If you have already installed the importer plug-in , click to run the importer. If you do not have it installed, follow these steps here to set it up. then activate it. Run it.

The program will ask users to upload their files to be imported. Select Choose File to locate the downloaded file from the original site. Then select the upload and submit button.
The importer will alert you to ensure that content is added to proper users on the new site. This is why you should first import your users prior to importing content. If you're not doing it already, stop the content import, and then go back to the earlier process.

Choose the appropriate users, then select the Import and download file attachments option. WordPress will find any attachments in your old site use them, as soon as it's able, and then import these to your new site. Sometimes, this won't be possible due to concerns with access or security but when you're transitioning from a remote hosted website to another one, it usually will.
Click on the submit button. WordPress will upload the file and make the contents. Once it's done, you'll receive a confirmation. Visit your blog's posts (click Posts in the menu that's for administrator) and you'll see your blog posts that you have imported to the new website.
It's a long path to moving your site - the only thing left for you to complete is transfer widget settings.
Transfer Widgets in and out of Multisite
The last step is to transfer widgets. It is not necessary to set up them manually. You can employ Widget Importer and the Widget Importer and Exporter instead of.
Install and then activate the plugin on both the old and the new website.
If you were on the previous website, navigate to Tools > Widgets. Then click the Widget Exporter as well as the Importer. It will bring you to the Widget import/export screen.

Click on the Export Widgets button. The widget will be downloaded onto your PC by using the widget's settings.
Open your new website. Make sure you have the same theme and plugins installed and enabled as you had on your old site since they may provide widgets that you'll need to set up.
The widget import process doesn't bring in the widgets itself. Instead, it imports the configurations for widgets. Additionally, it's crucial to use the same theme in order to ensure the widget sections will be the same.
Click Tools > Widget Importer/Exporter. The next time, click the Choose File option, and then copy the downloaded file from your previous site. It must have the .WIE extension.
Select to click the Import widgets button. The program will import the widgets and display the user an update display that informs that they've been import.

If there is a gap in widgets, any widgets which you previously used on your website are imported and will be placed in the active widgets section on the Widgets administration screen.
If you try to import of a widget which does not exist on the new website, most likely because you're not activating a plugin, you'll encounter an error message. Install and activate the plugin, then run the import again so that the plugin doesn't duplicate those widgets you've already imported.
It should be an identical duplicate of the previous website on the new address. Check the settings and configurations on the new site and confirm that they're the same as your older site (or alter them if you wish to modify the settings).
Moving the WordPress Website Manually
In this article, I'll focus on the transfer of a stand-alone WordPress installation to another. In the following part, I'll examine how this differs with regard to the WordPress Multisite network.
Start a new WordPress installation
Start by creating your new website using a blank WordPress installation.
In My, click on Sites from the menu for administration. Click on Sites and then on the "Add Site" button located on the upper left part of the page. You will see a dialog box asking you what kind of website you'd like to create.

Click the Add Site option, and a new website will be created specifically for you.
If you're not with them the service, you could create an entirely new site through your hosting service's administration interface. The only thing you have to do is make a folder where the site will go and in the case that you don't have any other websites associated with your account, you may bypass this step and simply add the site to the /publicor folder at the next step.
Export Files using SFTP
The next thing to do is transfer your files from the previous website to your new site. It will involve theme documents uploaded, plugins, files, as well as any other files that plugins might have added to the Content-related WordPress directory.
To access your site, you'll require your SFTP details. Inside My I'm here, you'll find those by clicking on Sites then choose the name of your website , and after that selecting the Information tab.


Transfer your Database to Your Old Site
If you are using the hosting interface of the old website, navigate to phpMyAdmin.
In My You can do this through clicking Sites Selecting your website before moving on to the information screen. On the Access Databases section, select the button to open the PHPMyAdmin button.
You will be prompted for the username of your database as well as password. This isn't exactly the same as the password for the hosting account you've got.
In My You will be able to find your username and password of your database within your Database access part on the information screen. If you're moving to a different hosting company, you'll likely be provided with these data when you sign up for an account or go to the administration screens.
Within phpMyAdmin you can click the databases tab. The tab will supply the user with a listing of all the databases you've set up on the hosting account you have.

Click on the name of the database. It is the one that corresponds to the website that you wish to duplicate. Then, you will find the tables inside the database.

Choose"Check all" by clicking the "Check All" checkbox beneath the list of tables. Then, By selecting the dropdown menu next to export, select the option to export.
PhpMyAdmin will direct you to a new screen. Select"Go" on the right side of your screen. "Go button on the right of the display.

PhpMyAdmin can make an SQL file to download onto your computer. It will be stored somewhere where you'll be able to return to it.
Upload files to your new WordPress Website
The next step is to upload the entire collection of files to your brand new website.
In the settings of your FTP client, you can connect to FTP using these details:
- Connection type The type of connection is SFT.
- Host name address, server as well as URL Your IPv4 address.
- Username is your SFTP Username.
- Password Password: Your SFTP Password.
- Port Your SFTP Port.
Upload the files in the directory that the files were in on your initial site, typically located in the /public/ directory.
It may take a while to upload them, therefore you might want to get coffee while you wait.
Transfer the database tables on your new website
If you are in the host interface for your new site, go to phpMyAdmin. The My tab allows you to gain access to this through the information display for your site.
If you've made an error in your WordPress installation previously, or you need to modify an existing WordPress website, you'll have to delete the database tables. Choose all tables the same manner you did when exporting these tables from the previous site, and choose the with selected dropdown menu. Click Drop option.

Once you've dropped your databases, or even in the event that you didn't possess a database initially, you'll need to transfer the tables on your previous site to your new.
In phpMyAdmin Click in the import tab. Within the Importing Files section, click the Choose File option, and select the SQL file that is on your PC which you have downloaded previously.

If you're migrating a site to a local instance, or to a hosting provider that's not on the list as a service, then you'll need to create an empty database prior to being able to import the tables. In the case of phpMyAdmin it's as simple as opening the screen for creating a database screen, then clicking the button for creating an account button. Give the database a name that makes sense and then add the tables into the database.
Modify your wp-config.php File
Return to your FTP client and find the wp-config.php file in your new web page. It is important to copy it to have an archive (just for the event of). Then right-click on the file and click the edit button to open it. Look for the area that has details of the database:

Replace these lines with information for your database which you'll find in the information screen within My. If the site you're using is on a local machine then you can use these credentials:
- Name Name: The name you assigned to your database at the moment it was made.
- Username: root.
- Password: root.
If you're transferring your website to a different hosting provider, you'll need the login credentials in the dashboard of the hosting company you use.
Check out your site and look for any updates for your Domain
Once you've got your new WordPress site up and running. It is time to make sure your site functions according to plan. As you test it, you should only use make sure that the test links point to the new site , not the previous one. It is likely that certain hyperlinks in the database use the old domain name.
Comparing the old and the new site and ensure that they are alike.
Transfer the domain name to Your New Site
This process is similar to with the Duplicator plugin. The steps are as follows in this section of the article.
Your brand new website at the address you have changed to. If you don't have a need for your old site It's time to remove the old one and close your hosting account that you previously used. And you're done!
Manually transferring an existing WordPress Multisite Network
If you require to move manually a Multisite network or transfer a site into or from the Multisite network, but you prefer not to adhere to the steps outlined in the previous paragraphs for plugins it is possible to do so.
It is difficult due to the simple fact that you have to transfer a few of the database tables and some of the database files.
Instead of describing the process fully, I'll highlight the key differences, so that you are able to benefit from them when working through the manual migration previously described.
It's crucial to keep in mind that if you're migrating to the whole network, the process is identical to for just one website, as it's the entire network that you're moving. In this post, I'll concentrate on migrating individual sites into or out of Multisite.
Design the new site
If you'd like to copy the new file format, you won't be able to import the WordPress files, but just what's in the directory wp-content.directory.
Export Files
If you're exporting data from one site to networks, the procedure for exporting data will be the same as above.
If you're exporting an existing site which is part of the Multisite network You'll have to locate the only data that was on that site.

Discover your site's ID. It typically consists of a code. It is located in the Network Admin > > Sites screen within your network. Then, within the directory of your WordPress-based directory, go to the uploads/sites folder and find a folder with the website ID (the number) as its name. Then, download the content of that folder.
Export the Database Tables
If you are exporting data from an online network then you'll need to export the tables associated with that website. Within phpMyAdmin look for the table that are named "wp-id-name" and"wp-id-name," where the word id is the ID of the website and the name refers to the title given to every table. Select all the tables and choose the Export option.
This is an example from a web site that's part of the network, with plugins to create extra database tables for each website. The site must export these tables as well.

Then, you'll have to change the names of the tables before you transfer them to the standalone website. Make backups of the SQL file. Open the file from scratch. Find the instances of (for an illustration) wp-3-, where the number three represents the ID of the web page. Replace them with the word wp. Save the document. Later, you can use the file that you have edited for import into the website.
Import Files
If you're importing to a site within a Multisite network, you'll need to upload the uploads to the correctly numbered folder in wp-content/uploads/sites.
When you import themes and plugins, add them to your themes folder within the themes/wp-content and the wp-content/plugins folders in the same method as when you upload the content to your normal WordPress website.
Import Database Tables
If you're making an import onto a site that is part of the Multisite network, then you'll have to check that the tables contained in SQL file have the correct prefix before you import the data.
Once you've made your new, unfinished website on your network that you'll be migrating into take notation of the ID number of the site. Backup the SQL download from the original site. Then access the file from the first. In that file, change all WP instancesby (for an example) wp-3- in which 3 refers to the ID number for the brand new website. Keep the file.
Next, in phpMyAdmin Select the folders that were set up for the brand new website within your network (all ones that contain an ID for the website and their prefix). Remove them all. After that, you can import the table you made to create new versions of the tables.
If you accidentally delete files or alter the SQL file in a way that isn't correct, it could break the Multisite network. Make sure that you're confident working with PHPMyAdmin. Make sure you create a backup of your network first!
Import Users
Since users' data is stored across the entire network, and not only for particular websites in the network, there's no method for users to manually export users from or to the site that is part within the multisite WordPress network.
The best way to accomplish this is by using the procedure of plugins described earlier in this article. You must ensure that you have imported all of the other files as and tables.
Take note that once you've imported users this manner it will be difficult for them to be identified as the original user in the process of authorizing posts. The user must go through every page/post, and assign them manually appropriate authors.
The previewing of Your Site
Summary
Moving an existing WordPress website between hosting providers or from remote sites to local sites is something that most WordPress users must do at some point or the other. There are numerous ways for doing this, but the most important distinction is whether you do this manually or employing the help of a plugin.
In the event that you choose to relocate your WordPress website on your own The steps above will assist in making sure you're doing it right and ensure that your new WordPress site will look exactly the same as that you previously had.
Reducing time, expenditures and enhance website performance through:
- 24/7 help and support from WordPress experts in hosting all hours of the day.
- Cloudflare Enterprise integration.
- Reaching a global audience with 34 data centers around the world.
- Optimizing through our built-in application for Performance Monitoring.
Article was posted on here