11 must-follow tips for making stunning product photos |
The best method to convince customers to purchase your product is through beautiful images of the product. Discover how with our 11 tips.
It's a fantastic product. You love it. It's perfect.
What do we do now?
Now, you have to convince the visitors of your website to purchase it. You must convince them of how amazing your product is and the value they will get from it to solve their problems.
One of the easiest methods to achieve this is to use stunning visuals. This works whether you are selling facial creams or digital downloads .
It's a good thing that you don't need to be an expert with a budget to match Elon Musk's visuals.
This week, we'll demonstrate how to create images that can convince buyers to place your product to their cart, starting with the backbone of info products, mockups.
How do you create your own mockups
A mockup is an image that helps buyers visualize the product's features in a realistic situation. There's an abundance of mockups available online that are able to superimpose your brand over.
This, for example, is an example where you could add to the left-over space for your ebook or poster cover.

There's plenty of options of options, however sometimes one can be perfect for you.
You might not have found a mockup with the right person using it, or perhaps the picture isn't telling the story you'd like it.
If so, there's another option open to you: creating a photoshoot for your products. A do-it-yourself mockup session as it were.
The advantages of this approach are:
The creative process is completely yours. You are able to choose your subjects, objects, colors, and set up in a way that the images reflect your company's image.
Specialist in emotional targeting and co-founder of GetUplift Talia Wolf observed that stock images decrease confidence. However, conversion rates increases by as much as up to 45% when you make use of original content, including images of your family and friends.
Through a research study on thousands of eBay ads the researchers discovered that the more images you include, the greater the payoff. This means that it's not only about the quality of your images, but also quantities. The process of creating your photo shoot allows you the possibility of making several images that can be grouped together.
Below are a few simple tips for staging your product photography and giving it its best chances of achievement. You don't need expensive gear to do this (though we'll offer some suggestions for investment if you want to improve your photography). All you require is a phone and a little of creative thinking.

Tip #1: Brighten the product you are using
In the absence of proper lighting, what you see in the real world and what gets photographed or recorded are two completely distinct things. The need for lighting to make your scene appear as stunning as it truly appears.
Natural light is your ideal companion. Choose times when the light doesn't get too harsh to prevent glare. This is such like early mornings or late evenings. Cloudy days are the best as they diffuse the light.
It is crucial to consider this when you're photographing screens, such as a laptop or phone. The screen's reflection will be apparent elsewhere on the image, and that means that you'll need to edit later to get rid of it.
You have two main options you can choose from to keep away that dreadful glare
Utilize a filters that polarize in your camera or phone to minimize reflections.
Make sure you invest in a permanent Softbox . It creates a soft and even lighting for photography. This is also useful for reducing reflections on reflective surfaces such as laptops and phones.

Tip # 2: Steady set up
Your set-up will vary based on what you want to achieve through your photography or video, as well as whether or not it is involving persons or not.
Stability is the main to amazing photography. The subject you're taking pictures of needs to be able to stand the test of time.
This is a great example from the Homework At Home Woman on how you can make your own set-up that is stable using the help of white or sheet of bed. In the photo below, she set up a small table made of wood and clamps to make this arrangement, but you could also just use chairs.

Although she has chosen a white background, you could take a different approach and include a vivid, textured, or patterned backgrounds. The addition of other items can create a focal point and help create a professional image.
For a simple yet effective example, Everyday Oil made its product onto pebbles that were placed over a wood surface with sanded edges. The result is a look that's natural and pared-back: perfect for the brand of the unisex fragrance.
After you've set up your equipment, it's time to think about how much you'll be taking pictures with your the camera.
Tip #3: Consider all angles
A variety of photos is ideal. When it comes to digital devices, it could mean showing how the product appears on various supports (tablets, phones, laptops) as well as different situations (at home, at work, etc.). ...).
Naturally, the buyer is likely to want to view various features in your product as well as appropriate images. It is possible to shoot with this in mind or even add screenshots in the event editing your video.
It's difficult to determine how much you should display and what to hold back. The Pasta-Based's "The Complete" Vegan Italian Thanksgiving eBook manages the right quantity on their sales page.

Mouth-watering pictures mix with passages in the book. This gives readers enough information without over-simplifying them.

Here are some things to consider when you take photographs:
Make sure you take pictures from every angle of your product.
Present a selection of highlights or excerpts.
Enhance your product descriptions by adding illustrations.
The approach you choose will be based on your particular product, and the information you believe should be shared.
You know how you can stage a photo shoot for your items However, have you taken the time to record everything? This tip is even more important than you think!
Tip #4: Don't rush
It's the most frustrating thing to be packing up all your gear and then realizing you've forgotten to shoot a different angle. Writing your product's description and realizing you haven't photographed what you're talking about.
So don't forget to review your photographs and think about all possibilities before reversing your hard job. Take your time, and consider the possibilities.
In the next section next section, we'll discuss strategies to stimulate your clients through your images.
The reason you need to be telling a story through the images of your products
Your way into your customers' hearts isn't with facts; it's through stories. If you wish your customers to care about your product, help them imagine how they could use it.
If you're selling acne-related cream and you're selling a bottle, the cream isn't going to get your customers excited. On the other hand an acne-free skin will show them a new future where they don't have to be concerned about their acne any longer.
According to a study led by Big Commerce , 78% of shoppers who shop online would like to experience products as if it's part of their everyday lives. It's a great idea to create photos that give your product context.
Now, as for howto tell a story that all comes down to design. In particular, it's your customers' own.
Tip #5: Describe how your products fit into your customer's lifestyle
Storytelling is one of the most effective marketing strategies there is. The word "storytelling" might remind you of your site's product description or product details section. But, it's equally crucial in your visuals.
Storytelling with product images is an art of expressing emotions and ideas.
Instead of showing your work on a blank background consider what atmosphere you could make around the product. Virago Press does this very effectively via their Instagram account for each of their publications.

This image, which features Louisa May Alcott's Little Women ,for example, isn't what you'd typically think of as a promotional image from the book. The inconsistency of various colors tiles smells Mediterranean and smelts like the warm holiday season, rather than Massachusetts.
It's because:
It helps project the reader into a magical holiday setting that they could happily revisit a childhood classic. The light slashing across the cover adds to that feeling of a reading session just stopped.
The contrasting colours and textures have a strong recollection of the chaos and creativity in the March household. You remember the fights or the dramas, and inventive pursuits of different sisters...
SIGN UP NOW
Sign up for a free account
Join 150,000+ creators who use to create websites, sell digital goods and create online communities. Get started for free -
Like we mentioned earlier, you can create pictures of your lifestyle for products that are not physical also. This includes ebooks, software products, and online courses.
There are two main routes you could consider for the following:
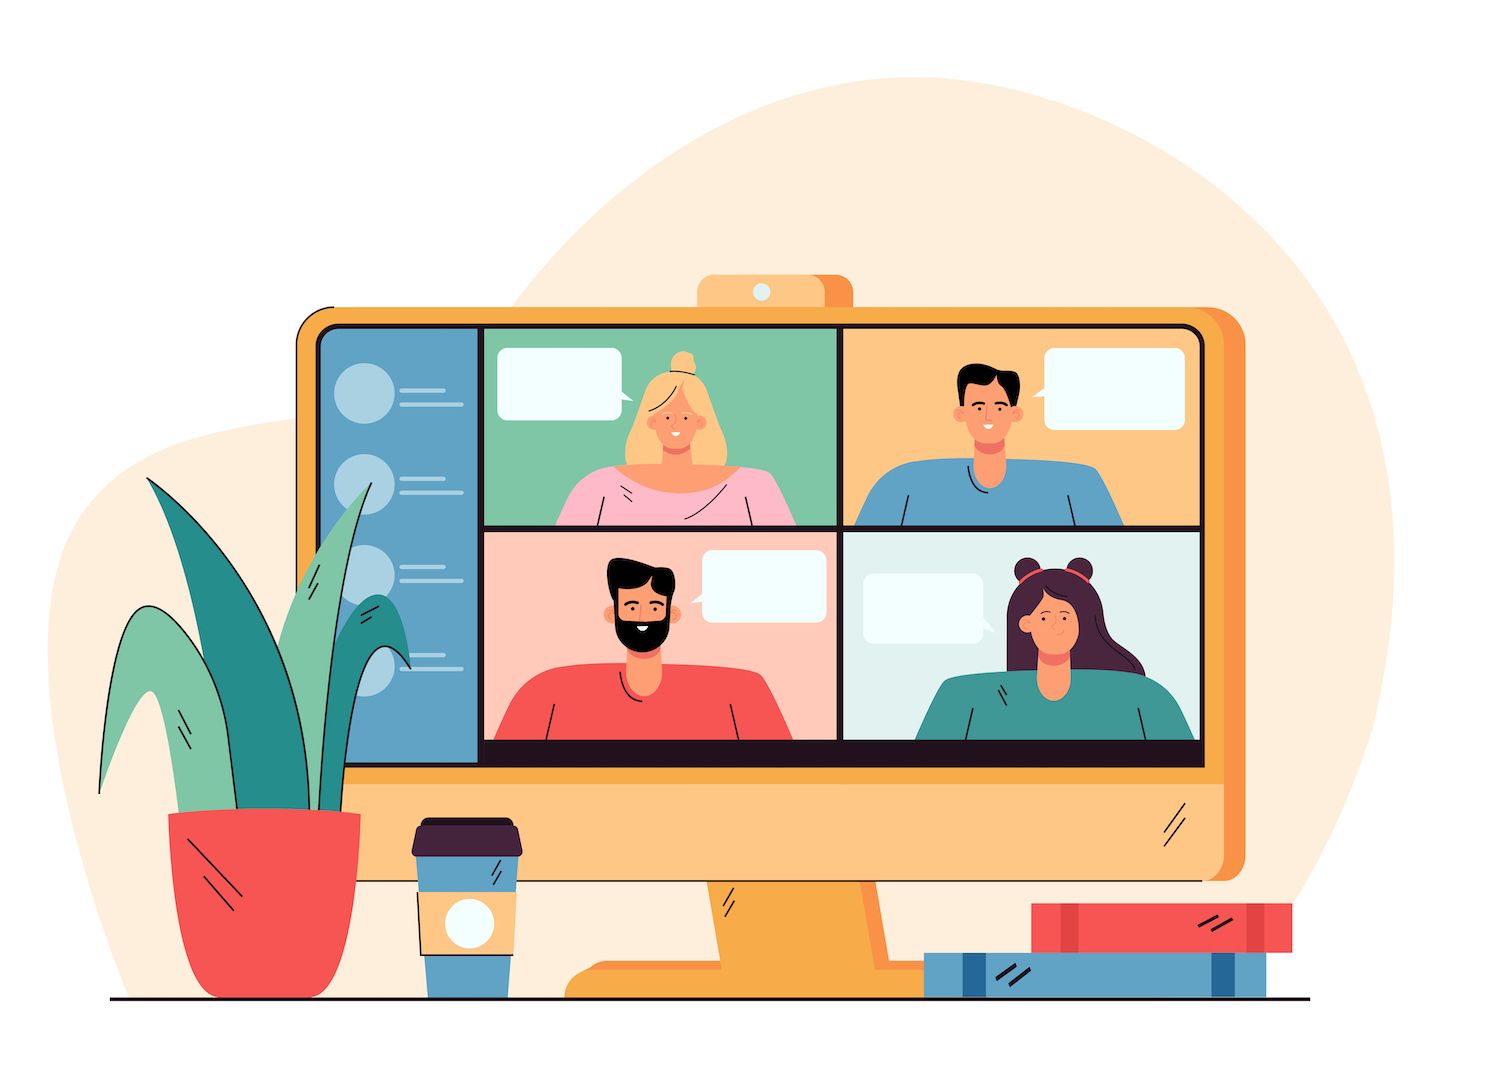
Mockups. These images are often of computer systems, electronic devices or books in different settings. A woman, for instance, looking at her phone in a coffee shop,
.
Related photos. They show how you as a buyer will feel after having purchased the product, or how you'll do with your knowledge gained -- for example, someone who is happy watching their laptop.

There's another great option you have at hand: harnessing the potential of your customers. Here's how.
Tip #6: Use users in the creation of images of products
A different method that is highly efficient to get your buyers engaged is to employ real-life people.
Then, what's better then to make use of photos made by your current customers?
It has now become an increasingly popular method of advertising, with user-generated ads receiving 4 times more per-click rates than average ads.
Designer of watches and jewelry CLUSE discovered that their conversion rate increased by 19% after they switched to pictures created by the users.
CLUSE asked their clients to share photos of their items via social media with hashtags like #CLUSE or #CLUSEwatches. The result was that they gathered over 19,000 images to create the form of a lookbook .

That's not your only option however. As beneficial is bringing motion to your photos in a literal sense.
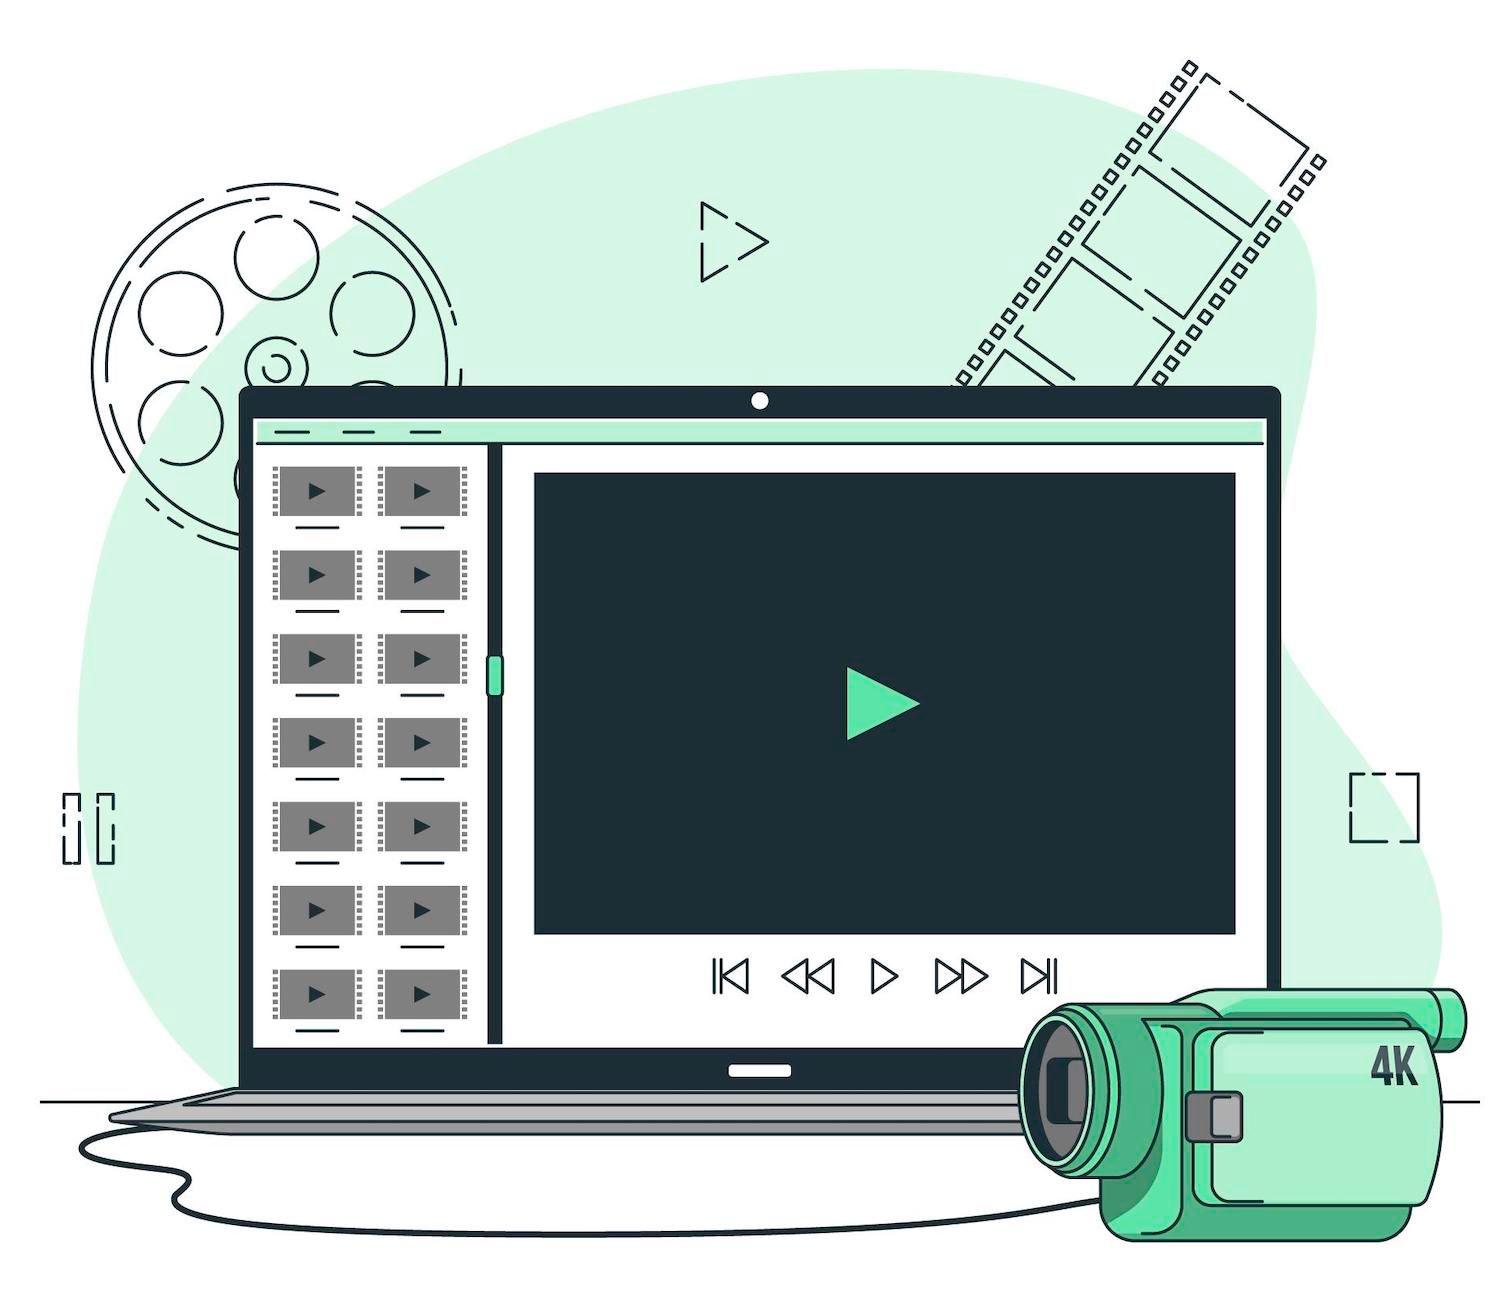
Animate your product image
Product images don't have to remain static.
Actually, you could create amazing outcomes by being inventive with GIFs video, GIFs, and interactive features such as an image zoom, or 360deg view. They can be featured on your product page or on social media accounts to bring customers back to your website.
Here's how powerful adding movement to your product is: 84% of customers decide to buy a product or service following a video from a company's website.

In addition, introducing a 360deg effect to an item has often been connected to a five to 40 percent rise on sales.
There's nothing quite as immersive as taking one step further than making a film and animating your product's performance and that's where the next point is useful.
7th Tip: film your presentation
The benefits of filming your product are that buyers can get an understanding of the way the product works, and can make an informed purchase decision.
This is, for instance, the IKEA's "Say Hej" to IKEA Place video that showcases their augmented reality application.
This video demonstrates exactly how the app functions (you can visualize what IKEA furniture will look like in your room without needing to measure anything) within less than one minute. The angle of the camera is selected so that it appears as if you, the viewer, is in the room by using the application.
The language used is simple, and the voice is pleasant. Most importantly, you grasp the concept within just a couple of minutes.
At the time of writing this article, it has a total of 500,000 views. This shows that you don't have to do anything extravagant in order for a captivating product trailer -- often simpler concepts are the most effective.
Tip #8: Get interactive
Bellroy's page for products is another example of clever images. With an interactive slider, you will be able to see the amount of area you'll save by using their wallet compared to a traditional one.

It's a simple and powerful concept that makes the products be noticed. The buyer can also imagine how their wallets will feel and appear after purchasing.
If animated visuals don't work for you There's a different option that could be perfect for your product. We'll look into it.
Tip #9: Create a media version of your product image
Simple product photos with a white background are ideal for pages of products.
Images for social media need a little more personality. The most common strategy for online businesses, and even infopreneurs is to create two sets of photos, one for your product pages and one for social media.
The same is true for skincare brand Mu London which favors clean and crisp images on their website, but also makes them more lively to make them more appealing on social media.
Similarly, you could include animated text, or make a simple GIF from several images of a product from different angles in order to draw attention on social media. For example, here's a GIF made in Canva to promote a fictional blogging course.

You've got an idea of what you'd like to do But how do you accomplish it? This is where a variety of tools is useful...
Top tools to create images for products
Here are some of our most used tools to help you create dazzling product images.
Tip #10: Utilize design & editing tools
1. Affinity Designer
Affinity Designer is a versatile desktop application that works on Mac & Windows that's perfect to modify the mockups you've made to yourself. The app lets you add fun images by using tools like the Pixel Persona, which allows you to draw freehand over your photo.
The features for editing resemble Adobe Photoshop but without the price tag.
Pricing Free trial of 90 days, followed by a one-off price of $24.99. No monthly subscription is required.

2. BeFunky
BeFunky is a versatile photo editing tool that can make batch edits to your images. It also has the ability to retouch images and background removers. It also has an AI image enhancement program, and much more.
Pricing Free, and with the option of upgrading to BeFunky Plus, which provides more sophisticated functionalities such as removing objects. It starts from $4.99 monthly if you pay annually.

3. Canva
Utilize Canva for Canva to make branded graphics to use on your social media channels or eCommerce website. You can also create animated images. Upload your branding kit to ensure a consistent style across your pictures. You can download them in PNG, GIF, mp4 and resize them to suit various formats.
Price:The free account doesn't include branding kits or options for resizing. The pro plan is $12.99 a month.

4. Pixelz
Pixelz is an online editing tool. It's perfect for retouching or changing your products' images without disrupting your creative flow. Backed by AI It's designed for e-commerce websites.
Price Pricing: The Solo plan begins at $9 a month and can go up to $1,995 a month in the Enterprise version. It doesn't come with the professional retouch features such as color matching, or support elements.

5. Remove.bg
Like the name implies, Remove.bg is an amazing tool for removing background. Ideal for creating quality images that aren't cluttered by background.
Pricing: This app can be used for free for 50 photos, after which you are obliged to purchase credits with a pay-as-you-go model at $0.90 an image or the subscription model at $0.20 each image.

Tip #11: Use websites for mockups to showcase your product
If your product is non-physical one, like eBooks, mockups are an ideal choice. They're also useful if you're still waiting to receive your product yet, but you have the design files and want to build up your brand's reputation.
1. MockupWorld
MockupWorld is a vast repository of free photoshop mockups. Also, they have animated mockups on their website. It's a great option for those who have Adobe Photoshop, as you are able to simply drag your image in the proper layer.
Pricing: Free.

2. Graphic Pear
Graphic Pear is another excellent repository of mockups that can be used for brochures, packaging, as well as signs. Graphic Pear favors crisp, clean images and muted hues.
Prices:There is a free plan to choose from. Upgraded plans are $39 monthly or one-time payment of $89 for unlimited access.

There are a variety of other websites where you can find free or affordable mockups for your images for products like Placet , Freepik , and the Pixeden .
Product photos are all about the customer's needs
In the end, what makes images effective isn't the most expensive kit or the shiniest product on the block.
The most important thing to do is placing your self in the shoes of your online shoppers and deciding what will be helpful to them.
What do they need to be aware of in order to complete the process and place your item in their cart?
It's possible that your answer is not exactly the same as a different online store's answer, but may include:
Featuring multiple pictures from different perspectives.
Create an aspirational primary image that draws on their emotions and desires.
User-generated pictures that show your product's success.
The process of filming a video for your product to ensure that online customers can view the product in action and better understand how a particular feature works.
Use a 360deg perspective or zoom plugin (or cameras on your phone, if applicable) in order for customers to fully get a sense of your item.
The creation of an interactive tool that allows users to engage with your product.
Choose one or several of them to make strong product images that attract your customers to purchase the products you're selling.